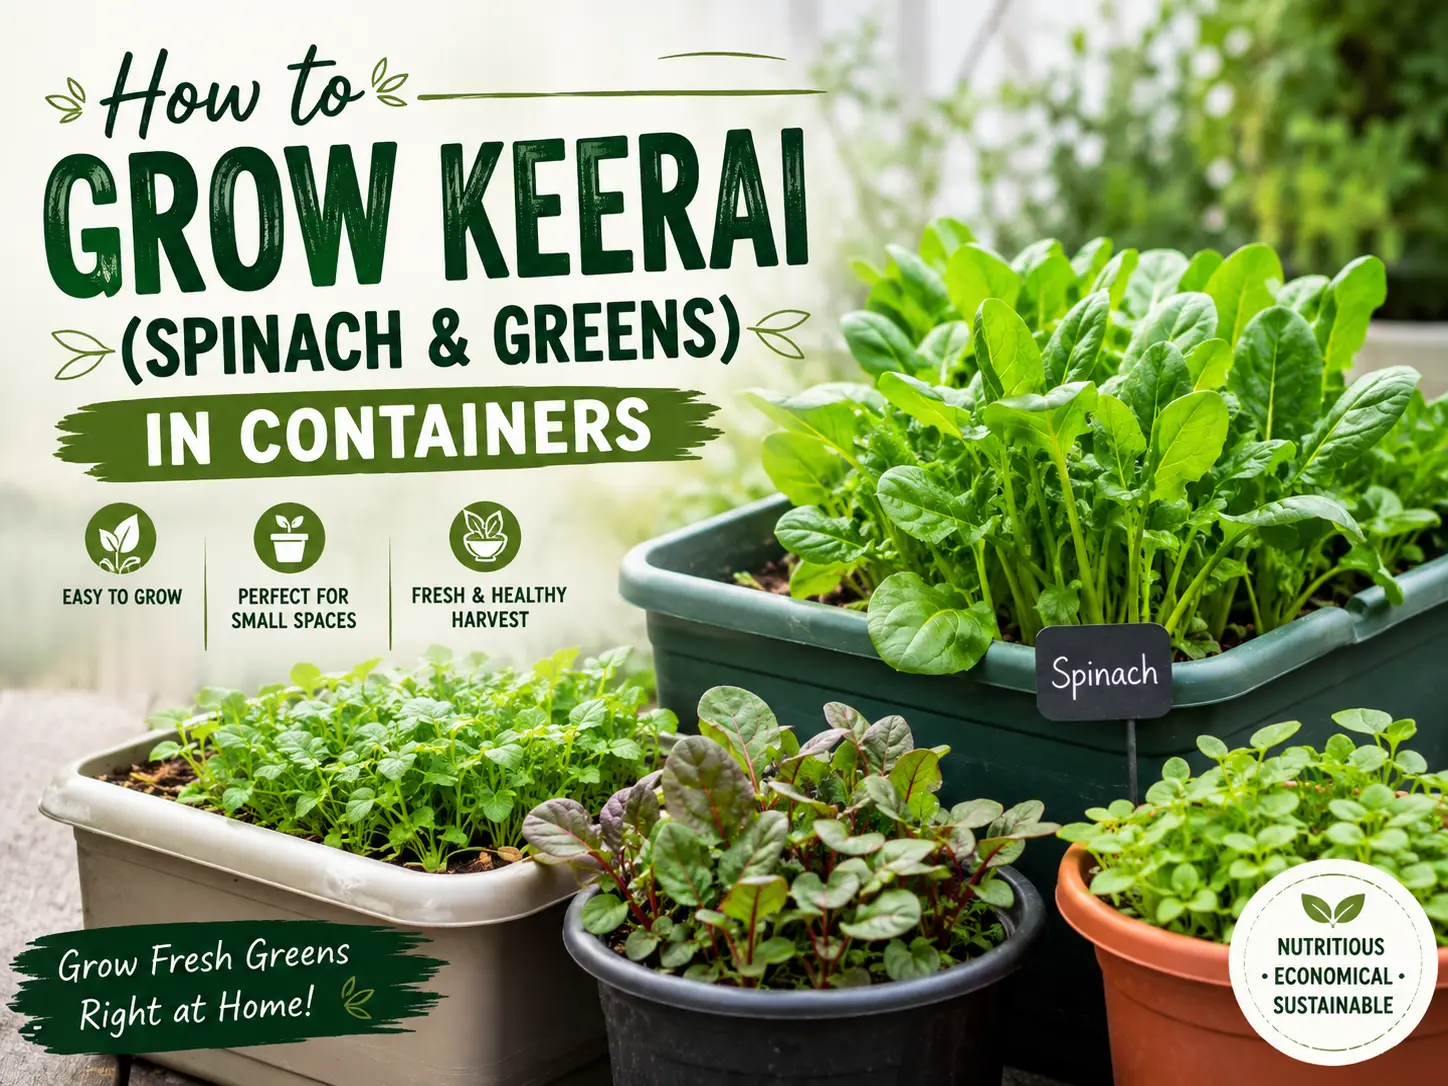
Keerai (கீரை) — the family of leafy greens beloved in every Tamil kitchen — is the perfect crop for the impatient gardener. Most varieties go from seed to plate in just 25–40 days, they grow in shallow containers, and they're packed with iron, calcium and vitamins. Here's everything you need to grow abundant keerai and spinach in pots.
Why Grow Your Own Greens?
Leafy greens lose nutrients fast after harvest and are often heavily sprayed at the market. Growing your own gives you greens at peak freshness, completely clean, and ready to pick minutes before cooking. They're also among the fastest, most forgiving crops — ideal for kids, beginners, and small spaces.
Best Keerai & Greens to Grow in Containers
- Araikeerai (Amaranthus): Fast, hardy and prolific — ready in about 30 days as a cut-and-come-again crop.
- Mulaikeerai (Amaranth, green): Mild and tender, perfect for everyday poriyal and kootu.
- Sirukeerai: A small-leaved, nutrient-dense favourite that thrives in pots.
- Palak (Indian spinach): Soft, versatile leaves; prefers cooler weather and partial shade in summer.
- Pasalai keerai (Malabar spinach): A heat-loving climbing green that produces all through the hot season.
Step 1: Choosing Containers
Greens have shallow roots, so a container 6–8 inches deep is plenty. What matters is surface area: wide troughs, grow bags, or repurposed crates give you more leaves. Always ensure good drainage holes.
Step 2: Preparing the Soil
Greens love nitrogen-rich, well-draining soil. Mix two parts garden soil, one part compost or vermicompost, and one part coco-peat. A handful of well-rotted manure gives the lush growth that makes leaves tender and dark green.
Step 3: Sowing the Seeds
Keerai seeds are tiny. Mix them with a little dry sand for even spreading, then scatter thinly over the soil surface. Cover with a very light dusting of soil — no more than a few millimetres — and water gently with a fine spray. Seeds sprout in 4–7 days.
Step 4: Thinning and Watering
Once seedlings are an inch tall, thin out crowded ones (eat these microgreens!) so the rest have room. Keep the soil consistently moist — greens wilt fast if they dry out. Morning watering is best. Place where it gets 4–6 hours of sunlight; in extreme heat, partial shade keeps leaves tender.
Step 5: Feeding
For lush leaves, feed every 10–14 days with a nitrogen-rich organic liquid like diluted cow-dung slurry, compost tea, or fermented greens feed. Avoid chemical fertilisers — you'll eat these leaves often.
Step 6: Cut-and-Come-Again Harvesting
Here's the magic of keerai: instead of uprooting the whole plant, harvest by cutting the leaves and stems about 2 inches above the soil. The plant regrows, giving 2–3 more harvests from a single sowing. Sow a fresh batch every 2–3 weeks for a non-stop supply.
Organic Pest Control for Greens
Leaf miners, aphids and caterpillars occasionally appear. Since you eat the leaves, stick to gentle methods: a mild neem spray (rinse before eating), hand-picking caterpillars, and removing affected leaves. Good spacing and airflow prevent most fungal issues.
A Simple Succession-Planting Schedule
The single trick that keeps fresh greens on your table every week is succession planting — sowing a new small batch before the last is finished. Try this rhythm: sow a fresh container every two weeks. By the time your first pot is giving its second cut, the next is ready for its first, and a third is just sprouting. With three or four staggered containers in rotation, you'll always have greens at the perfect young, tender stage.
The Nutrition Hiding in Your Greens
Keerai is one of the most nutrient-dense foods you can grow. Amaranth greens are rich in iron and calcium; palak and sirukeerai deliver vitamin A, vitamin C, folate and fibre. Because leafy greens lose much of their vitamin content within a day or two of harvest, the freshness advantage of home-grown keerai is real and measurable. Lightly cooking them — a quick poriyal or kootu rather than long boiling — preserves the most nutrients.
Growing Keerai With Kids
Few crops are better for getting children into gardening than keerai. The seeds sprout within days, the plants grow visibly taller almost overnight, and there's a real harvest to eat in just a few weeks. Give a child their own small pot, let them scatter the seeds and water with a spray bottle. They learn patience and where food comes from — and are far more likely to eat greens they grew themselves. Because keerai is harvested young and needs no chemicals, it's completely safe for little hands.
Frequently Asked Questions
How fast is keerai ready to eat? Many varieties like araikeerai are ready in 25–35 days from sowing.
Can greens grow in shade? They prefer sun but tolerate partial shade, which helps in peak summer.
How many times can I harvest one sowing? With cut-and-come-again, typically 2–3 times before resowing.
Why are my greens bitter or tough? Usually heat stress or harvesting too late. Pick young leaves and keep soil moist.
Final Thoughts
Keerai is the ultimate confidence-builder for new gardeners and a staple for experienced ones — fast, nutritious, and endlessly renewable. With a couple of wide pots, compost-rich soil and the cut-and-come-again trick, you can harvest fresh, clean greens almost every week.
🌿 Grow Organic · Live Natural — with Sakthivel Organics
Follow us for daily gardening tips, videos and updates:
🛋 Shop organic seeds, tools and garden essentials at sakthivelorganics.com/products