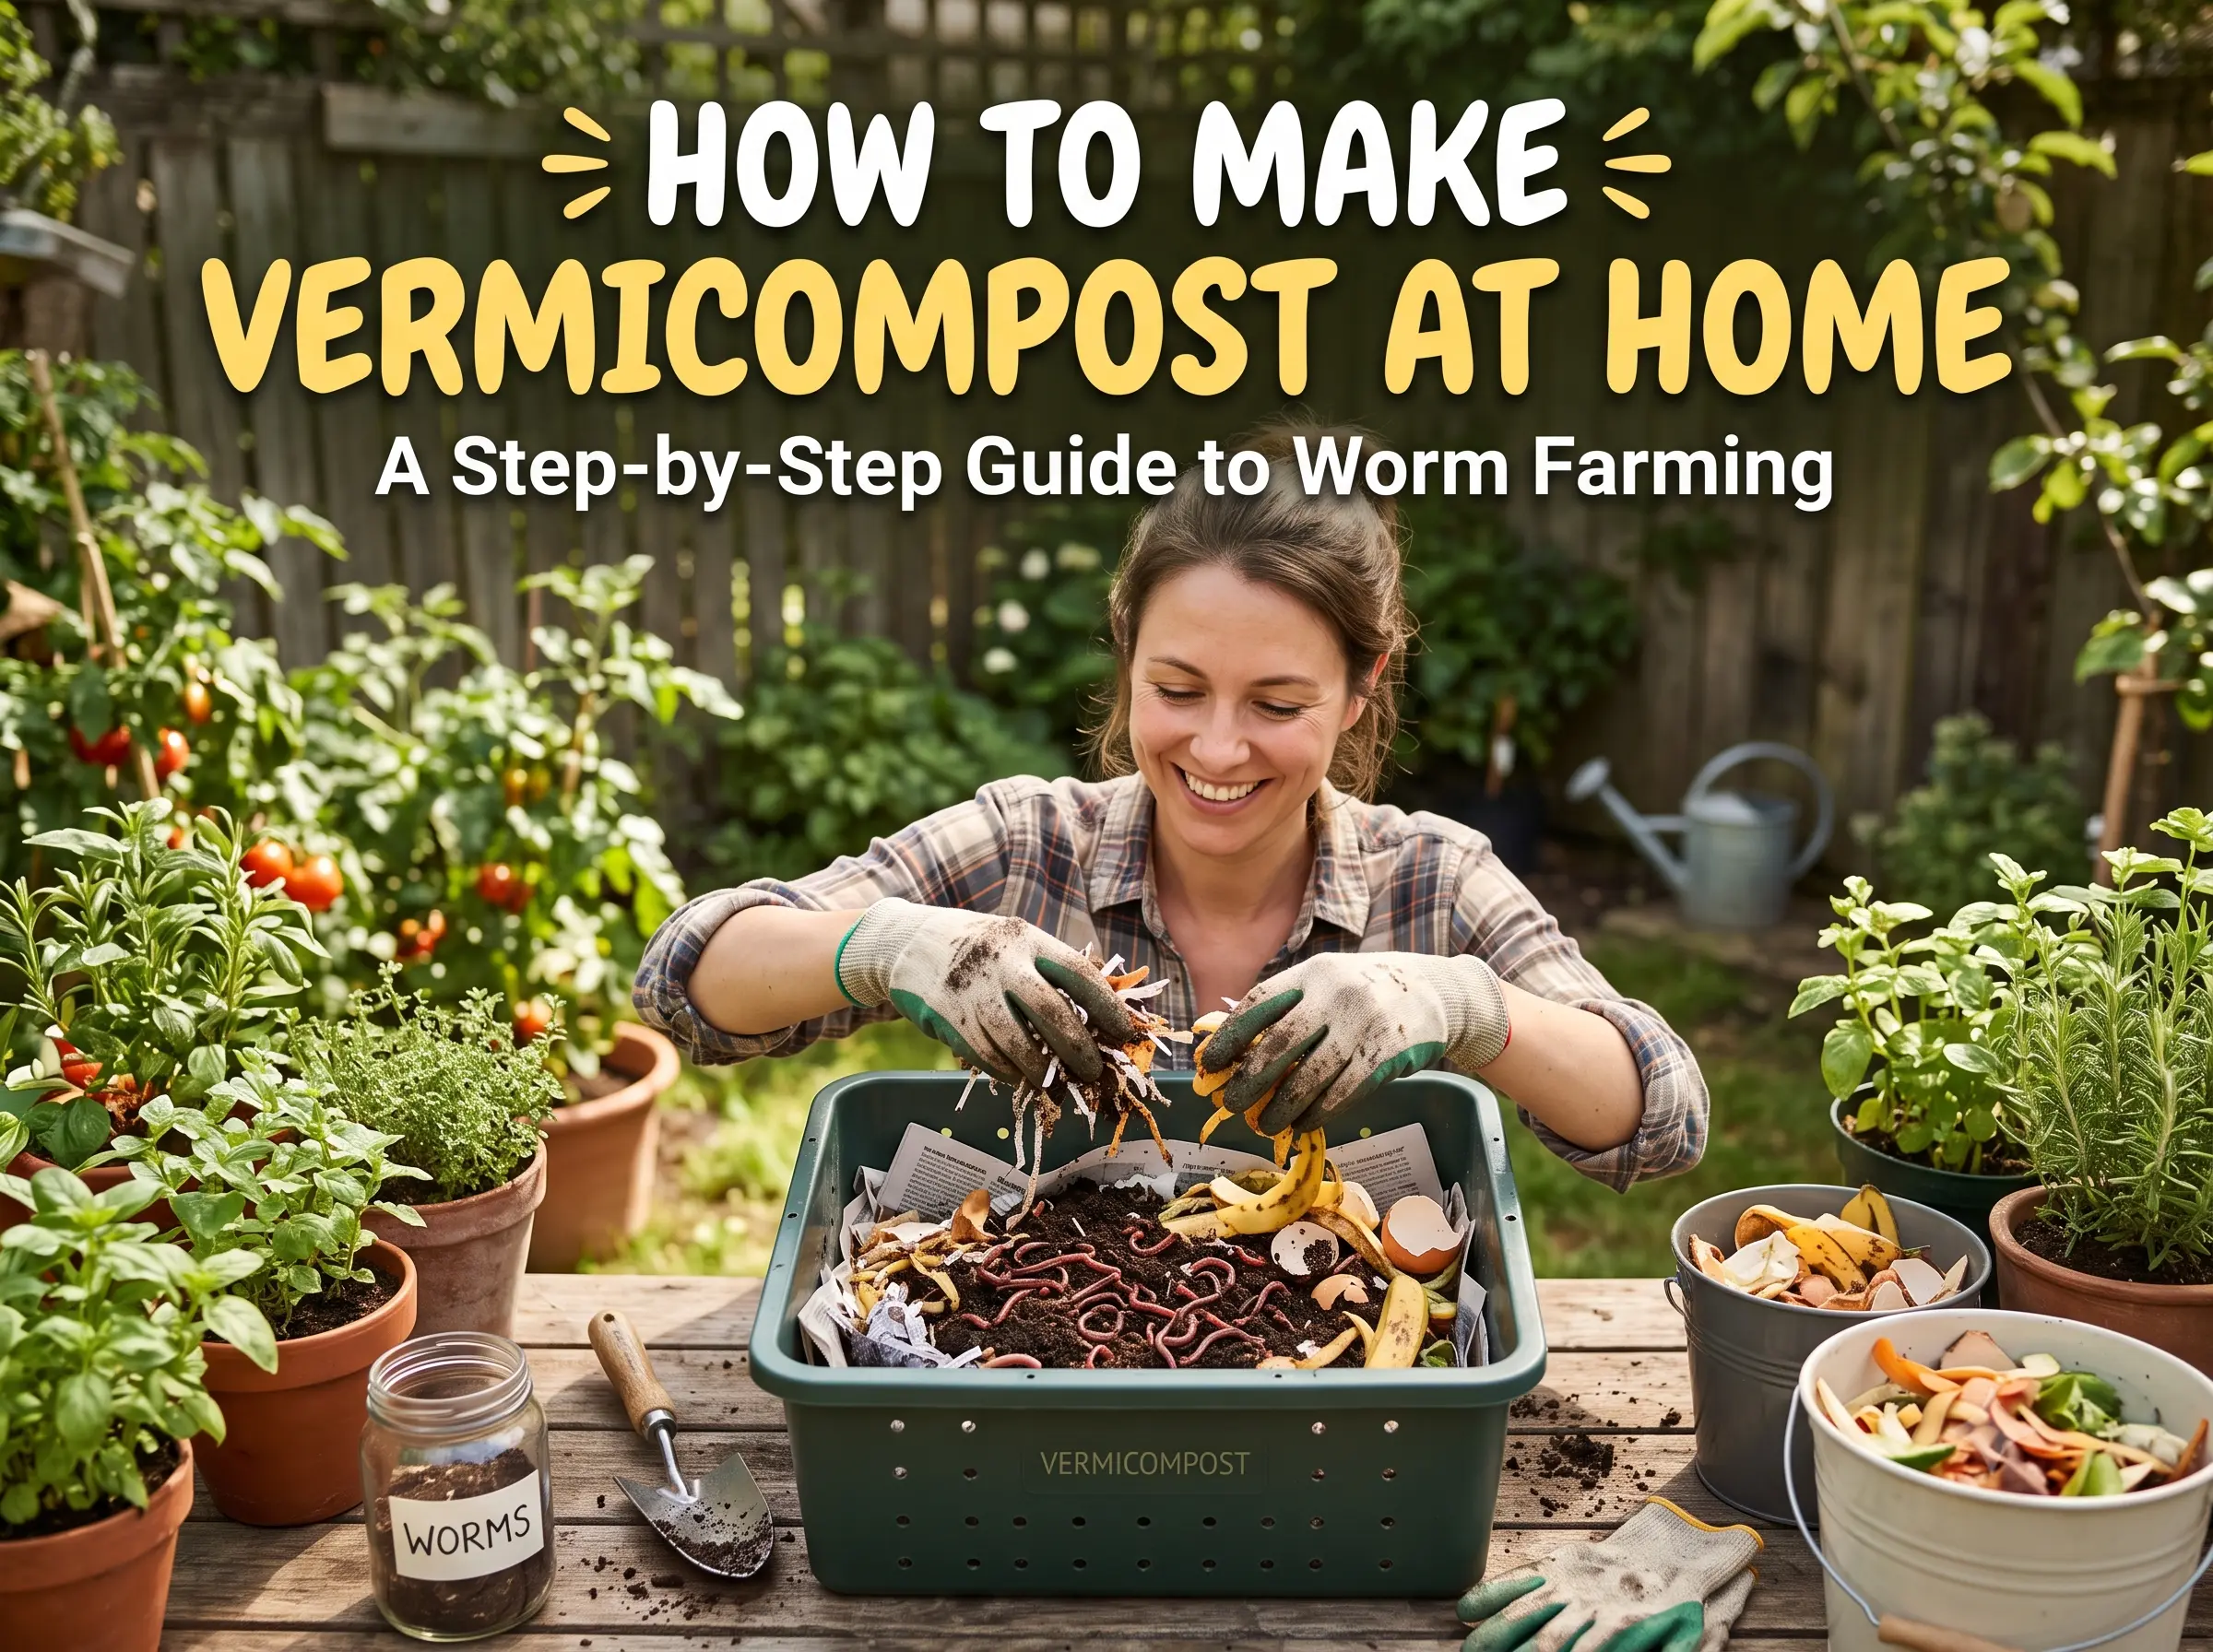
Quick answer: To make vermicompost, fill a deep, drainage-holed bin with moist bedding (cardboard or dry leaves), add 250-500g of composting earthworms (Eisenia fetida), and bury kitchen scraps under the bedding regularly. Keep it moist and shaded. In 2-3 months the worms turn the waste into dark, nutrient-rich vermicompost ready to harvest.
If there's one thing that separates a struggling garden from a thriving one, it's the quality of the soil — and nothing improves soil like vermicompost. Often called "black gold," vermicompost is the nutrient-rich castings produced by earthworms as they digest organic waste. It's the finest organic fertiliser you can give your plants, and you can make it at home from your kitchen scraps for almost nothing.
What Is Vermicompost and Why Is It So Good?
Vermicompost is the dark, crumbly, earthy-smelling material left after earthworms break down organic matter. Compared to ordinary compost, it's richer in plant-available nutrients, beneficial microbes and growth hormones. It improves soil structure, boosts water retention, suppresses plant diseases, and feeds plants gently without burning their roots.
What You'll Need
- A container or bin — a plastic tub, wooden box, or stacked crates with drainage holes
- Composting earthworms (Eisenia fetida / "red wigglers" are ideal)
- Bedding material — shredded cardboard, dry leaves, or coco-peat
- Kitchen and garden waste to feed them
- A dark, shaded, well-ventilated spot
Step 1: Set Up the Worm Bin
Choose a bin at least 12 inches deep with several drainage holes at the bottom and air holes near the top. Place the bin on bricks with a tray underneath to catch the liquid (a valuable fertiliser called vermiwash).
Step 2: Add the Bedding
Lay down 3–4 inches of moist bedding — shredded cardboard, dry leaves, or coco-peat. Dampen it like a wrung-out sponge: moist, never dripping.
Step 3: Introduce the Earthworms
Gently add your composting worms onto the bedding. Start with around 250–500 grams for a household bin. Give them a day or two to settle before feeding heavily.
Step 4: Feed Your Worms
Bury small amounts of food waste under the bedding. Worms can eat about half their body weight in food per day, so start slow.
Feed them:
Vegetable and fruit peels, coffee grounds, tea waste, crushed eggshells, and soft garden trimmings.
Avoid:
Meat, fish, dairy, oily or cooked food, citrus and onion in large amounts, and anything salty or spicy.
Step 5: Maintain the Right Conditions
- Moisture: Keep the bin damp like a wrung sponge.
- Temperature: Keep the bin in shade, away from direct sun and extreme heat.
- Airflow: Fluff the top occasionally so it doesn't compact.
- Cover: A layer of damp cardboard or jute on top keeps moisture in and pests out.
Step 6: Harvest the Vermicompost
In about 2–3 months, the bedding turns into dark, crumbly vermicompost. To harvest, stop feeding for a week, then push the contents to one side and add fresh bedding and food to the other side. The worms migrate to the fresh food, leaving you to scoop out the finished compost.
How to Use Vermicompost
- In potting mix: Add 20–30% vermicompost to your soil mix.
- As top dressing: Sprinkle a handful around established plants every few weeks.
- As vermiwash: Dilute the collected liquid 1:10 with water and use as a gentle liquid feed or foliar spray.
Troubleshooting Common Problems
Bad smell: Usually from overfeeding or too much moisture — stop feeding, add dry bedding, improve airflow.
Worms trying to escape: Conditions are off — too wet, too acidic, or too hot.
Fruit flies or ants: Always bury food under bedding and keep the lid covered.
Vermicompost vs Regular Compost: What's the Difference?
Both are excellent, but they aren't the same. Regular compost is made by microbes through heat, taking 2–4 months. Vermicompost is made by earthworms, and the result is markedly richer — worm castings contain more readily available nitrogen, phosphorus and potassium, plus beneficial microbes and natural growth hormones that ordinary compost lacks. Vermicompost is also finer and odourless. Many gardeners run both: a regular bin for bulk garden waste, and a worm bin to turn the best kitchen scraps into premium plant food.
Scaling Up and Troubleshooting Your Worm Population
A healthy worm bin is self-sustaining — worms double their population roughly every two to three months, so a small starter colony soon processes all your kitchen waste. For more compost faster, add a second bin or switch to a stacked tray system where worms migrate upward into fresh layers. If worms multiply faster than you can feed them, share some with a fellow gardener or start a new bin.
The Bigger Picture: Less Waste, Better Soil
An average household throws away a surprising amount of organic waste every week that ends up rotting in landfills and releasing methane. A worm bin intercepts all of that, turning garbage into one of the best soil amendments around. Over a year, a single home bin can divert dozens of kilograms of waste while producing a steady supply of premium fertiliser. Your kitchen feeds your worms, your worms feed your soil, and your soil feeds you.
Frequently Asked Questions
How long does vermicompost take? Typically 2–3 months for the first harvest.
Do worms smell? A healthy bin smells earthy and pleasant. Bad odours mean something needs adjusting.
Can I keep a worm bin in an apartment? Yes — a well-managed bin is odourless and compact.
How many worms do I need to start? Around 250–500 grams; they multiply quickly.
Final Thoughts
Vermicomposting turns waste into "black gold," shrinks your household garbage, and gives your plants the richest organic food there is. Set up a simple bin this weekend, feed your worms a little each day, and in a couple of months you'll harvest your first batch of homemade vermicompost.
🎓 Want to put that black gold to work? Our மாடித்தோட்டம் Terrace Gardening Course (Tamil, 90-day program) shows you exactly how to use compost and vermicompost to build a thriving terrace garden from scratch.
🌿 Grow Organic · Live Natural — with Sakthivel Organics
Follow us for daily gardening tips, videos and updates:
🛋 Shop organic seeds, tools and garden essentials at sakthivelorganics.com/products